
As winter is in full swing, I find myself even more excited this year for the 2026 garden. I took a break from the blog and social media through the holidays to rest and spend present time with my family. I also started a new job that had me go from being home all day, every day, to getting out of the house 4 days a week for work. It has been an adjustment, but I have found so much joy in it. That being said, I have some reservations about this year’s garden and how I will maintain it as well as last year.
Working from home, it was easy to start the day slow and walk through the garden to water or harvest without even having clocked into work yet. On average, I had a solid 45 minutes every morning after the rest of the family rushed out of the door to spend time in the garden. I also could easily go out to the garden over my lunch and do some work, shower, and get back to my computer for the rest of the work day.
Knowing I am not going to have these small pockets of time just means I need to be more intentional about planning garden time. That all starts with figuring out what I want to grow, and what I already have. I am also planning on adding another 8×4 bed this year (though my husband doesn’t know this yet!), and I am venturing into Dahlias for cut flower bouquets.
If you’re beginning your garden planning now, here’s how I’m approaching this season.
Step 1: Order Seeds & Take Inventory
I started by ordering seeds from a few trusted sources:
Once everything arrived, I laid out all my seed packets and took inventory. This year, I’m starting 66 different varieties, including vegetables, herbs, and flowers. Seeing everything together helps me avoid overplanting and ensures I plan adequate space indoors and in the garden beds.
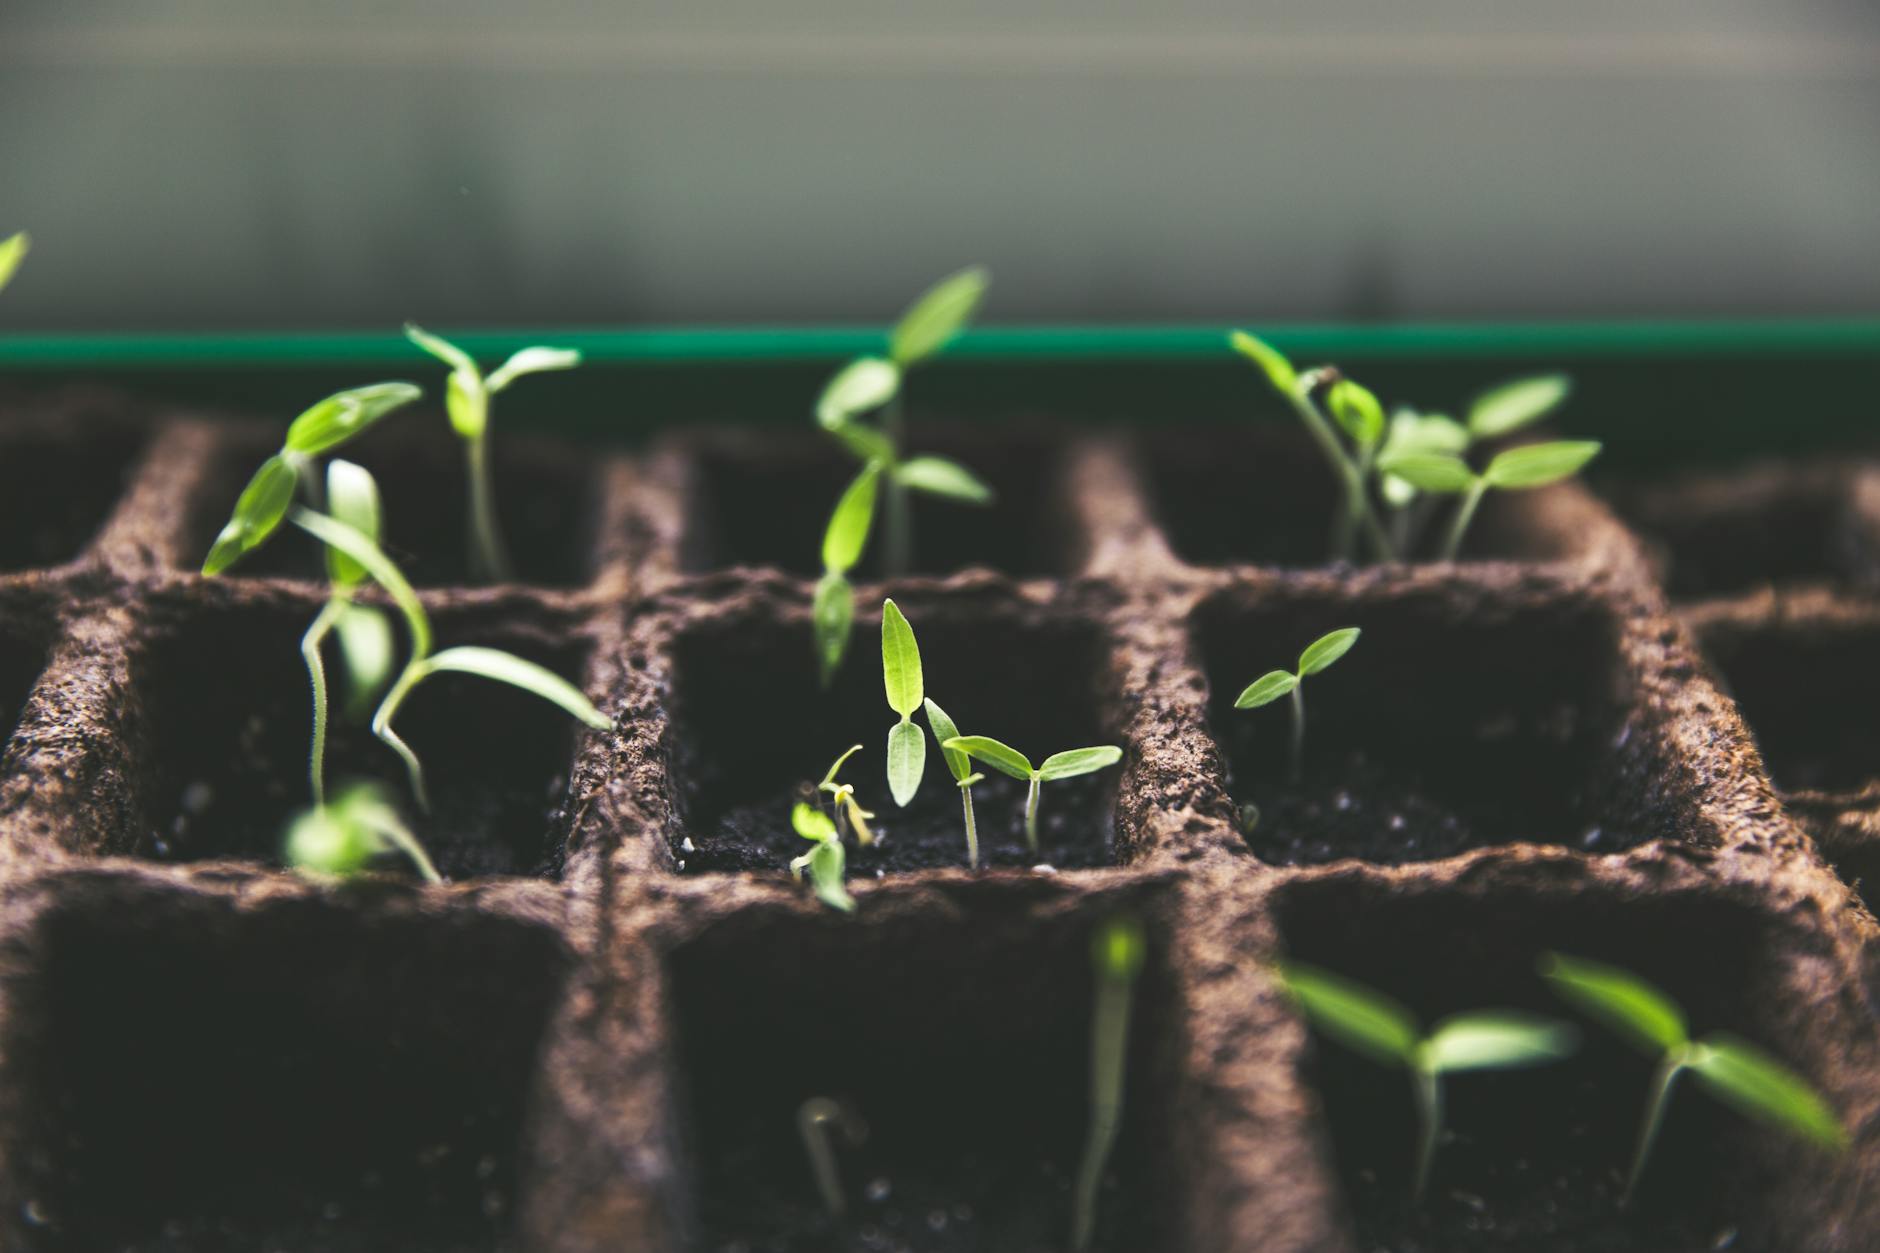
Step 2: Prepare Your Seed-Starting Setup
Before starting a single seed, I make sure my indoor setup is fully ready. This year, I added a second Amazon Basics 5-tier metal shelving rack, which gives me enough vertical space to keep seedlings organized and properly lit.
My indoor seed-starting setup includes:
- Barrina grow lights (4 ft and 2 ft)
- Vanleno adjustable rope hangers
- BN-LINK heat mats
- Burpee seed starting mix
Having everything assembled ahead of time makes seed-starting weeks feel smooth and stress-free rather than hurried. Previously, I had my set up in the dining room. This was tolerable for a few months while the seedlings grew, but they quickly took over my dining room table, as well as some of the kitchen. With the number of seeds I am planning to start this year, and the addition of another shelf, I decided to convert my office/guest bedroom into what I am calling “the greenhouse”.
Step 3: Organize Seed Information in One Place
To stay organized, I created a Google Sheets spreadsheet that includes all 66 seed varieties. For each plant, I listed:
- Whether it’s an annual or perennial
- Indoor start vs. direct sow
- Germination time
- Days to maturity
- Plant type (vegetable, herb, or flower)
- How many weeks before last frost to start
- Sun requirements
This master list becomes the foundation for every other planning decision.
Step 4: Build a Seed-Starting Calendar
Once my spreadsheet was complete, I used it to create a week-by-week seed-starting calendar. Each plant is assigned a start week based on our local last frost date, which takes the guesswork out of timing. (I am in zone 5A)
Instead of wondering “Is it too early?” or “Did I miss it?”, I can simply look at the calendar and know exactly what needs to be started each week.
Tip: A lot of seed packets will give a range of weeks for when to start from seed (example: 6-8 weeks). Put the seeds on your calendar for the higher number. That way, if life gets in the way, you have some wiggle room to still be on schedule for starting them!
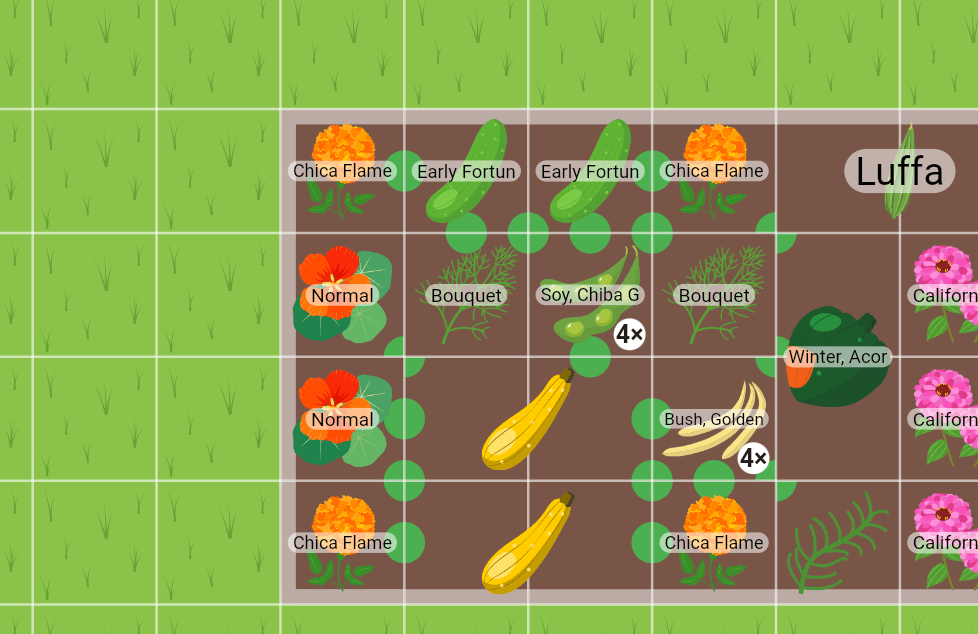
Step 5: Map Out Garden Beds
With seeds and timelines planned, I’m currently working on mapping out the garden beds. This includes:
- Deciding what will be planted where
- Considering sun exposure
- Planning spacing and crop rotation
- Leaving room for succession planting
- Looking at companion planting layouts
This is also where I account for the possibility of adding another bed, without fully committing until I know we have the time and energy for it. I love using the Planter App. It allows me to map out beds to exact sizes and locations, as well as show me facts for all of my plants. This app also will tell you if plants are or are not compatible next to each other.
Step 6: Try One New Thing
As I get more and more into gardening, I like to find a big, new thing to try. Last year, it was Luffa. This season, it’s dahlias grown from tubers. I’ve admired them for years but never attempted them myself, mostly because they have quite the upfront investment. As I learn more about them along the way, I’ll be sure to share updates.
Starting the Season
Garden planning doesn’t have to be complicated or rushed. For me, it’s about creating systems that support the season ahead. I am a huge planner. Spreadsheets, calendars, and early setup make me feel prepared and ready to take it on.
After a season of rest and family time, easing back into garden planning feels like the perfect transition into spring. If you’re planning your garden now, I hope this encourages you to slow down, organize thoughtfully, and build a plan that works with your life!
Have you started garden planning yet? I’d love to hear tips and tricks you implement to stay organized below!

Leave a comment