
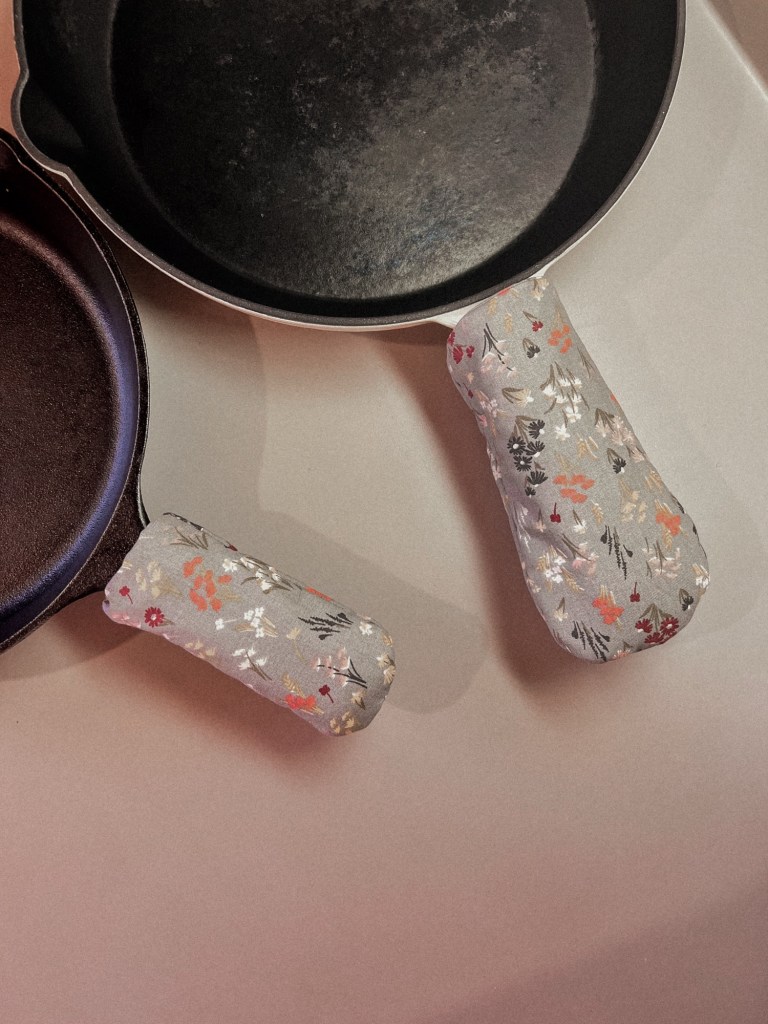
Since incorporating more cast iron skillets into my cooking routine, I have quickly realized the need for a handle cover. Cast iron handles can become extremely hot, even with stovetop cooking. I also needed something to protect my family from burns if we were serving buffet style in the kitchen. Instead of ordering a handle cover, I looked at my pile of fabric and decided I could easily make one, as well as customize the size and colors to each pan.
Materials:
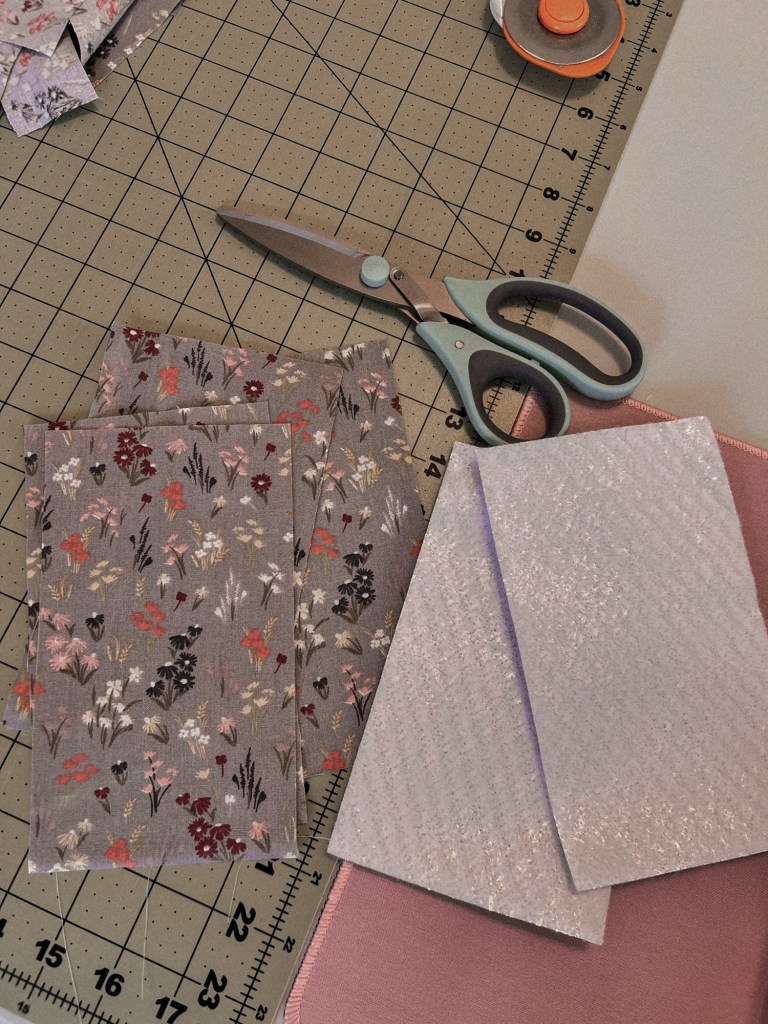
- 2 pieces of main fabric (I used 4in x 7in)
- 2 pieces of lining fabric (same size)
- 2 pieces of Insulbrite, or any other heat protecting batting (same size)
- Matching thread
- Sewing pins or clips
- Sewing machine or hand stitching needle
- Scissors
Instructions:
- Use your cast iron pan to roughly determine how big your fabric needs to be cut. You need approximately a 1.5 inch border of fabric around where the handle sits. I made my fabric 4×7 inches, and that ended up being a perfect size for my main 12 inch skillet.
- Cut all of your fabric to the size you need. You will need 2 main fabric pieces, 2 lining pieces, and 2 insulation pieces. I used the same fabric for the lining, but you can use two different patterns if you prefer.
- Round the corners on one end of each piece of material.
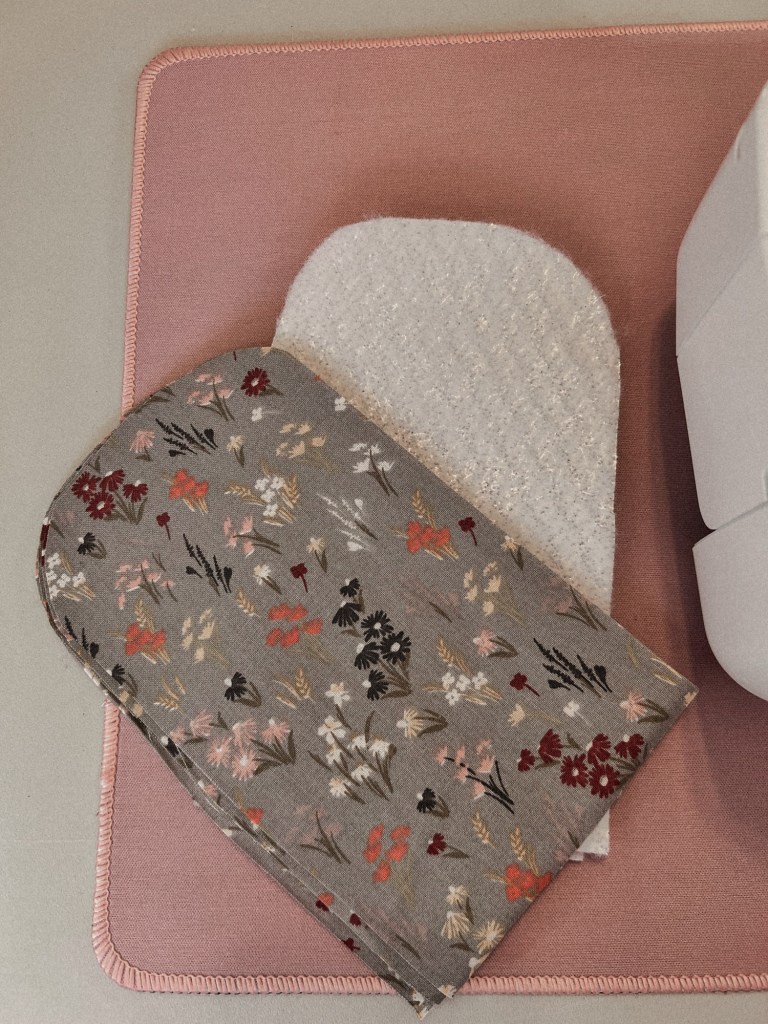
- Separate the materials out into two groups. In each group, you will need 1 of your main fabric pieces, 1 of your lining fabric pieces, and 1 of your insulation pieces.
- Sandwich the main fabric and the lining fabric right sides together.
- Place the two fabric pieces on top of your insulation piece, placing your main fabric up against the insulation.
- Sew a basting stitch along the straight end of the fabric stack. Make sure to back stitch a bit at the beginning and end.
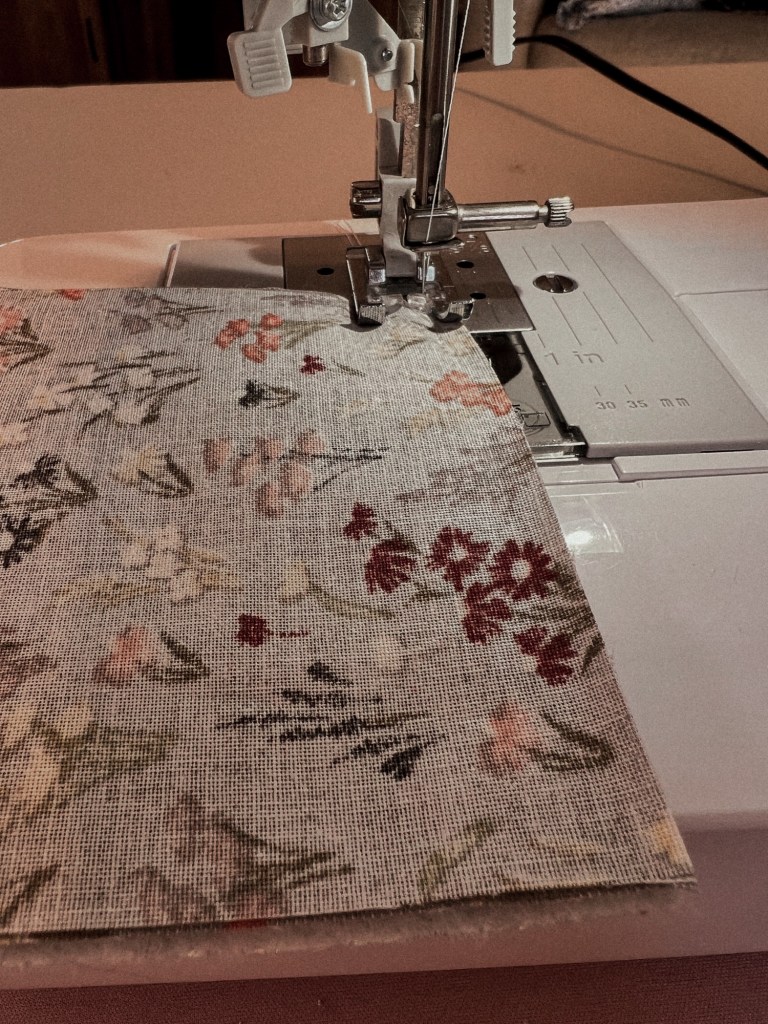
- Repeat with your other group of fabric.
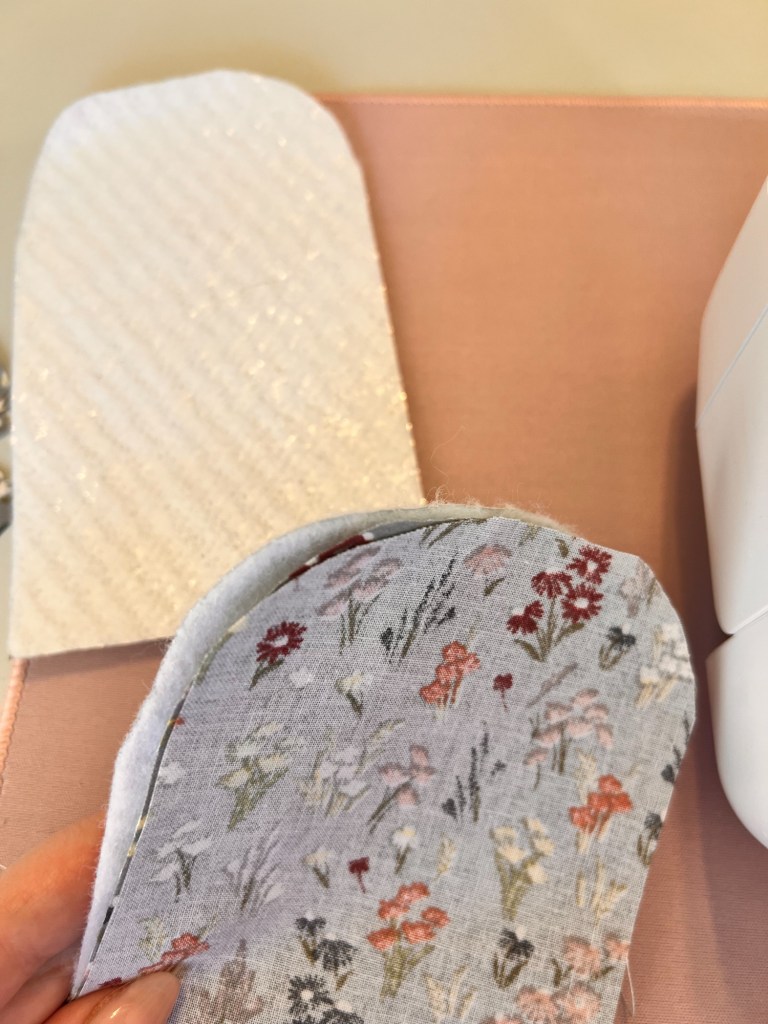
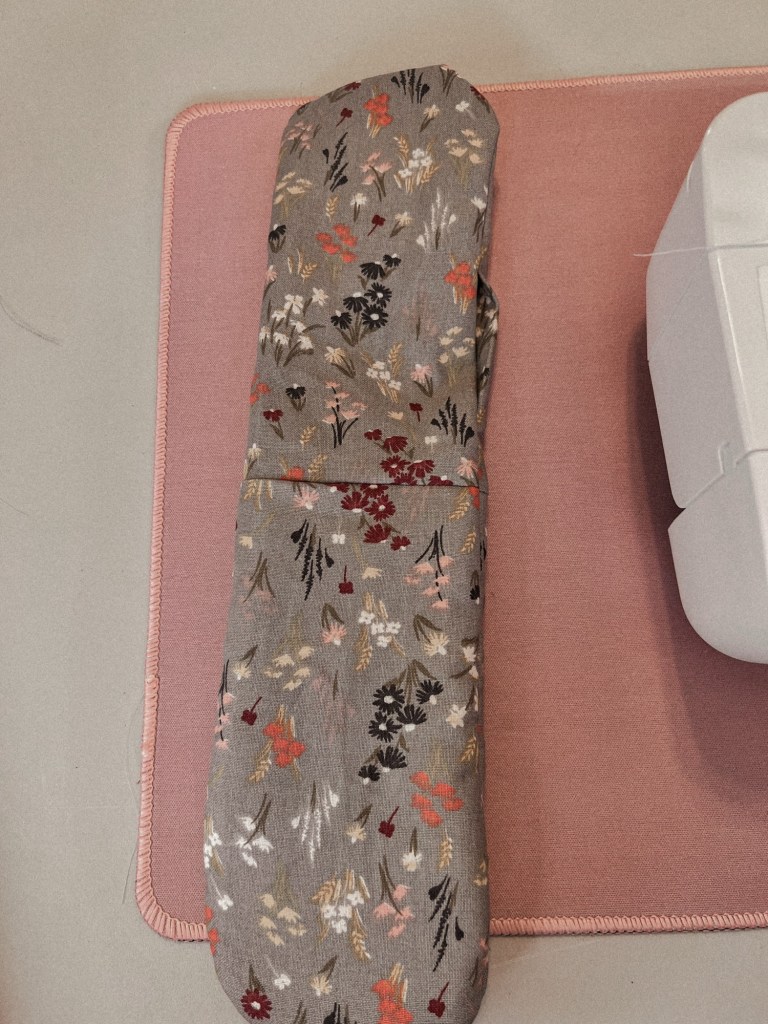
- Open up each grouping of fabric so the lining piece is branching one direction, and the main fabric and insulation pieces are still together branching the other way.

- Stack the two groups of fabric right sides together.
- Pin around the entire stack with pins or clips.

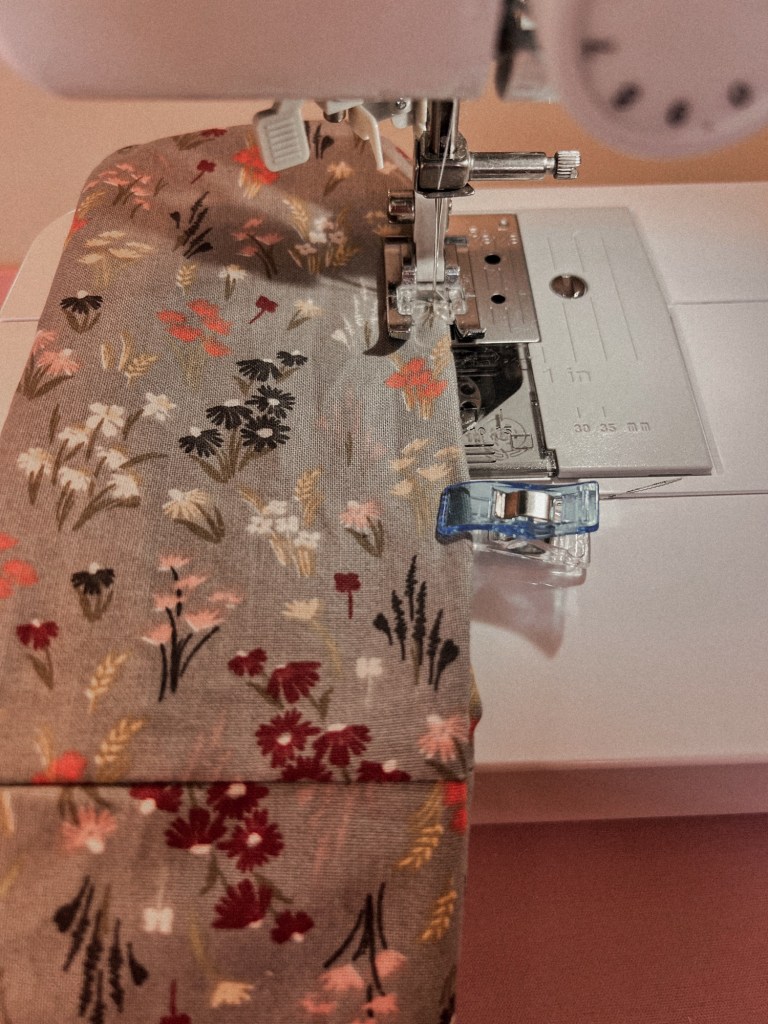
- Sew around the outside of the stack, leaving approximately 2 inches open along the straight edge of the lining side. Make sure your needle is going through all layers of fabric, and you backstitch at the beginning and end.
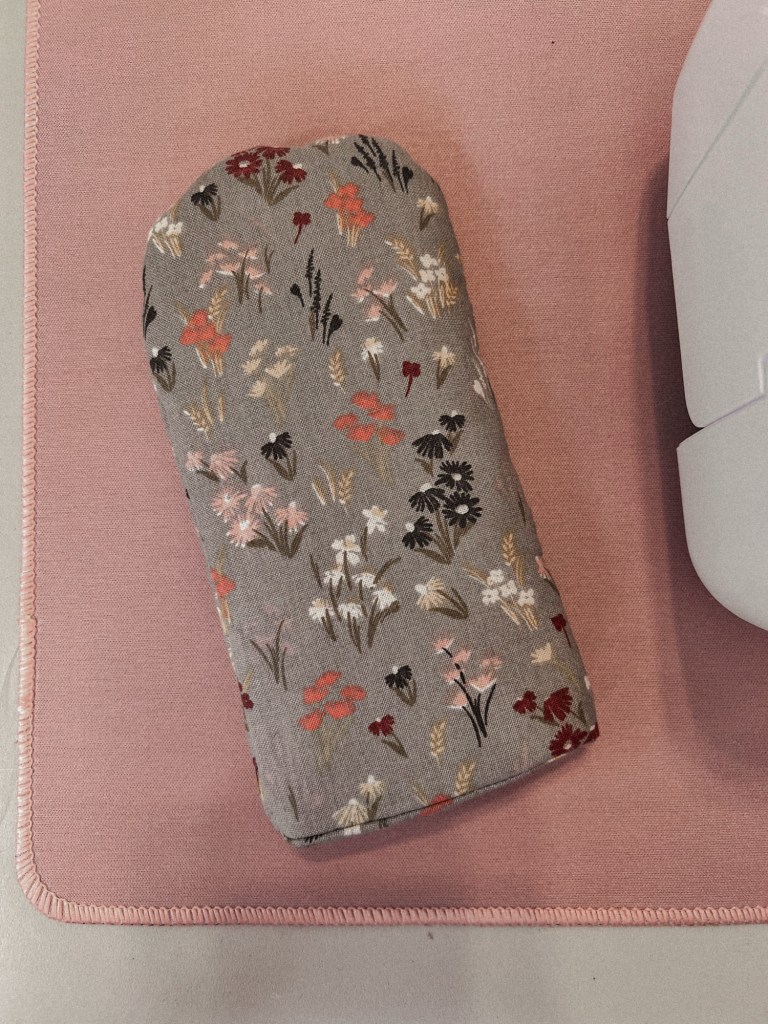
- Use the area you did not sew to turn the entire project inside out. I found it easiest to start feeding the insulated side through the hole first.
- Pinch the hole in the fabric together and stitch closed.
- Push the lining down into the insulated end.
- Slide your new handle cover onto your cast iron skillet!
NOTES:
- Do not use any projects containing Insulbrite in the microwave. Insulbrite contains metal.
- Handle covers are not oven proof. They are only meant to slide on and off of skillets when cooking or serving on the stovetop or transferring in and out of the oven.
- Handle covers can be washed with soap and water and air dried.

Leave a comment